


Tutorials
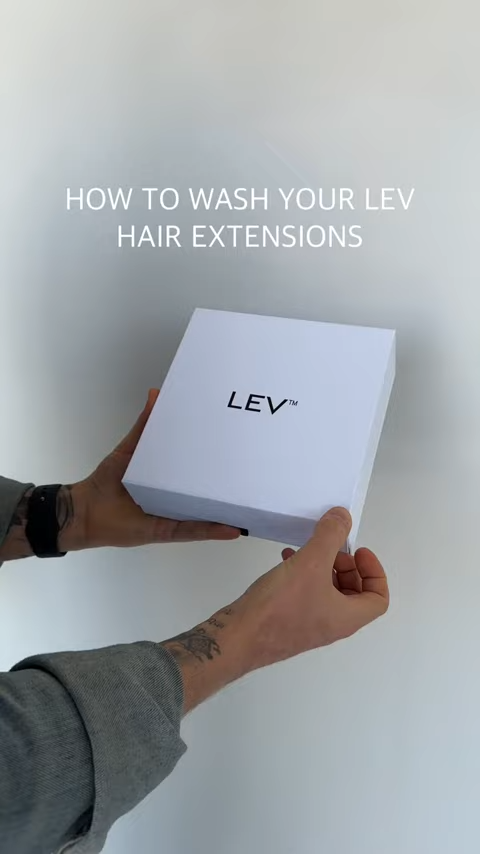

How to wash your LEV 3D Invisible Clip-In Extensions

Installing your extensions
Installing
your extensions
Before you install your extensions for the first time you will want to wash your extensions. You can use your favorite products for this step.
START WITH THE LEFT SIDE OF THE HEAD AND THE EXTENSIONS LABELED “L”

01
Horizontally section out your hair two fingers above the ear and 1/2” away from the hairline. Tease a small section with a comb and clip the extension at the root.

02
Horizontally section out your hair two fingers above the extension and 1/2” away from the hairline. Tease a small section with a comb and clip the extension at the root.

03
Horizontally section out your hair two fingers above the extension and 1/2” away from the hairline. Tease a small section with a comb and clip the extension at the root.
Once all the wefts are secured on the left side, brush through the wefts and blend with your natural hair.
Once all the wefts are secured on the left side, brush through the wefts and blend with your natural hair.
NEXT, INSTALL THE EXTENSIONS ON THE RIGHT LABELED “R”

04
Horizontally section out your hair two fingers above the ear and 1/2” away from the hairline. Tease a small section with a comb and clip the extension at the root.

05
Horizontally section out your hair two fingers above the extension and 1/2” away from the hairline. Tease a small section with a comb and clip the extension at the root.

06
Horizontally section out your hair two fingers above the extension and 1/2” away from the hairline. Tease a small section with a comb and clip the extension at the root.
LAST, INSTALL THE EXTENSIONS ON THE BACK LABELED “B”

07
Horizontally section out your hair three fingers above the nape of the neck. Tease a small section with a comb and clip the extension at the root.

08
Horizontally section out your hair two fingers above the extension and tease a small section with a comb and clip the extension at the root.

09
Horizontally section out your hair two fingers above the extension and tease a small section with a comb and clip the extension at the root.
Once all three wefts are secured on the back of your head, brush through the wefts and blend with your natural hair.
Once all three wefts are secured on the back of your head, brush through the wefts and blend with your natural hair.
Installing your extensions

Installing your Sculpt Ponytail Extensions
Installing
Your Sculpt Ponytail Extensions
Before applying your ponytail extension, make sure your natural hair is styled into a secure ponytail or bun.
Sculpt Ponytail Installation Guide

01
Create the Base Ponytail (Step 1)
Brush your hair and secure it into a ponytail with an elastic band. This will serve as the foundation for your extension.

02
Insert the Extension Comb (Step 2)
Slide the comb from the ponytail extension into the base of your natural ponytail, just above the elastic.

03
Anchor the Extension Securely (Step 3)
Grab the anchor hook on the extension and loop it around the ponytail base. Ensure it's snug and stable.

04
Begin Wrapping the Extension (Step 4)
Start wrapping the attached hair around the base of your ponytail, concealing the anchor point.

05
Secure with Velcro (Step 5)
Press the velcro wrap tightly to ensure the ponytail is held firmly in place.

06
Cover the Attachment Area (Step 6)
Use the wrap-around hair strip attached to your extension to hide the velcro base completely.

07
Smooth and Secure the Wrap (Step 7)
Wrap the strand smoothly around the base and pin it with a bobby pin for a sleek finish.

08
Tuck and Blend (Step 8)
Tuck the end securely under the ponytail and brush through to blend with your natural hair.

09
Adjust and Reinforce (Step 9)
If needed, use the included elastic bands to reinforce the hold and maintain shape.

10
Style and Finish the Look (Step 10)
Brush through gently and style as desired — sleek, wavy, or curled — for a flawless, natural-looking ponytail.
Installing your pony tail extensions
Installing
Pony Tail extensions
Before applying your ponytail extension, make sure your natural hair is styled into a secure ponytail or bun.
Sculpt Ponytail Installation Guide
01
Create the Base Ponytail (Step 1)
Brush your hair and secure it into a ponytail with an elastic band. This will serve as the foundation for your extension.
02
Insert the Extension Comb (Step 2)
Slide the comb from the ponytail extension into the base of your natural ponytail, just above the elastic.
03
Anchor the Extension Securely (Step 3)
Grab the anchor hook on the extension and loop it around the ponytail base. Ensure it’s snug and stable.
04
Begin Wrapping the Extension (Step 4)
Start wrapping the attached hair around the base of your ponytail, concealing the anchor point.
05
Secure with Velcro (Step 5)
Press the velcro wrap tightly to ensure the ponytail is held firmly in place.
06
Cover the Attachment Area (Step 6)
Use the wrap-around hair strip attached to your extension to hide the velcro base completely.
07
Smooth and Secure the Wrap (Step 7)
Wrap the strand smoothly around the base and pin it with a bobby pin for a sleek finish.
08
Tuck and Blend (Step 8)
Tuck the end securely under the ponytail and brush through to blend with your natural hair.
09
Adjust and Reinforce (Step 9)
If needed, use the included elastic bands to reinforce the hold and maintain shape.
10
Style and Finish the Look (Step 10)
Brush through gently and style as desired — sleek, wavy, or curled — for a flawless, natural-looking ponytail.
How do I care for my LEV Hair Extensions?
To keep your extensions looking their absolute best, we recommend using sulphate-free, alcohol-free, and paraben-free hair-care products. Always brush gently, starting from the ends and working your way up, to avoid tangling or breakage. When washing, use cool to lukewarm water and allow your extensions to air dry for maximum longevity.
Do you offer refunds or exchanges?
We want you to feel 100% confident with your purchase. That’s why every set of LEV Hair Extensions includes a tester piece (1 piece out of 9 total) to help you check the color, length, and quality before opening the full set.
As long as the main seal remains unbroken and the product is unused and in original condition, we offer returns or exchanges within 60 days of purchase. Once the seal is broken, due to hygiene and safety reasons, we cannot accept returns or exchanges.
For assistance, please contact us at levextentions@gmail.com
How long does shipping take?
All orders are processed Monday through Friday.
• Domestic shipping: 3-7 business days
• International shipping: 7-14 business days (depending on location)
You will receive tracking information once your order has been shipped.
• Domestic shipping: 3-7 business days
• International shipping: 7-14 business days (depending on location)
You will receive tracking information once your order has been shipped.
How do I find the perfect color match?
We offer complimentary color matching to ensure you select your perfect shade. Simply send us clear, natural-light photos of your hair (front, back, and side) and our team of experts will personally assist you. If you’re between shades, we can also recommend blending options for a flawless match.
Can I style, cut, or color my LEV Hair Extensions?
Yes! LEV Hair Extensions are made with 100% premium human hair, all cuticles intact, which means you can style, curl, straighten, and cut them just like your natural hair. If you wish to color your extensions, we recommend consulting a professional stylist experienced with extensions to ensure the best results and preserve the integrity of the hair.
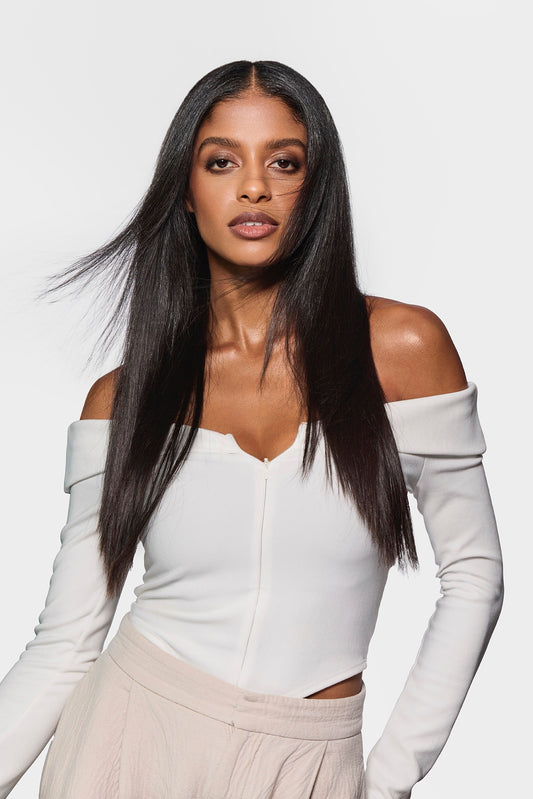
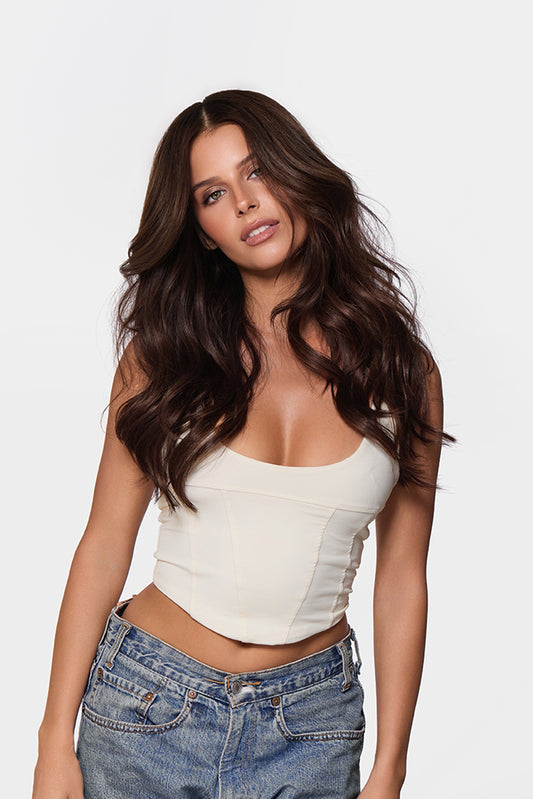
Explore Shades

Biscotti Blend
- Regular price
- $400.00
- Regular price
-
- Sale price
- $400.00
Deep Mocha
- Regular price
- $275.00
- Regular price
-
- Sale price
- $275.00
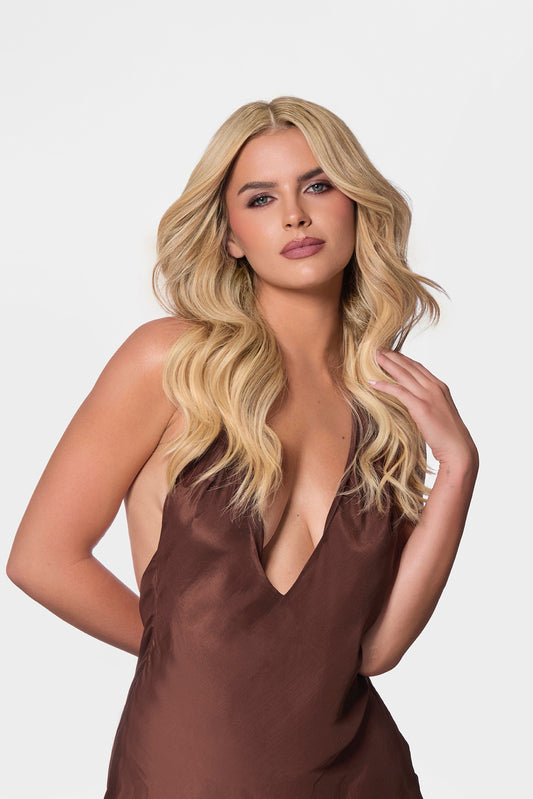
Champagne Creme
- Regular price
- $400.00
- Regular price
-
- Sale price
- $400.00
Cocoa Bean
- Regular price
- $300.00
- Regular price
-
- Sale price
- $300.00